


How to Remove Paint from Hardwood Floors
Kris Eastwood • May 14, 2021
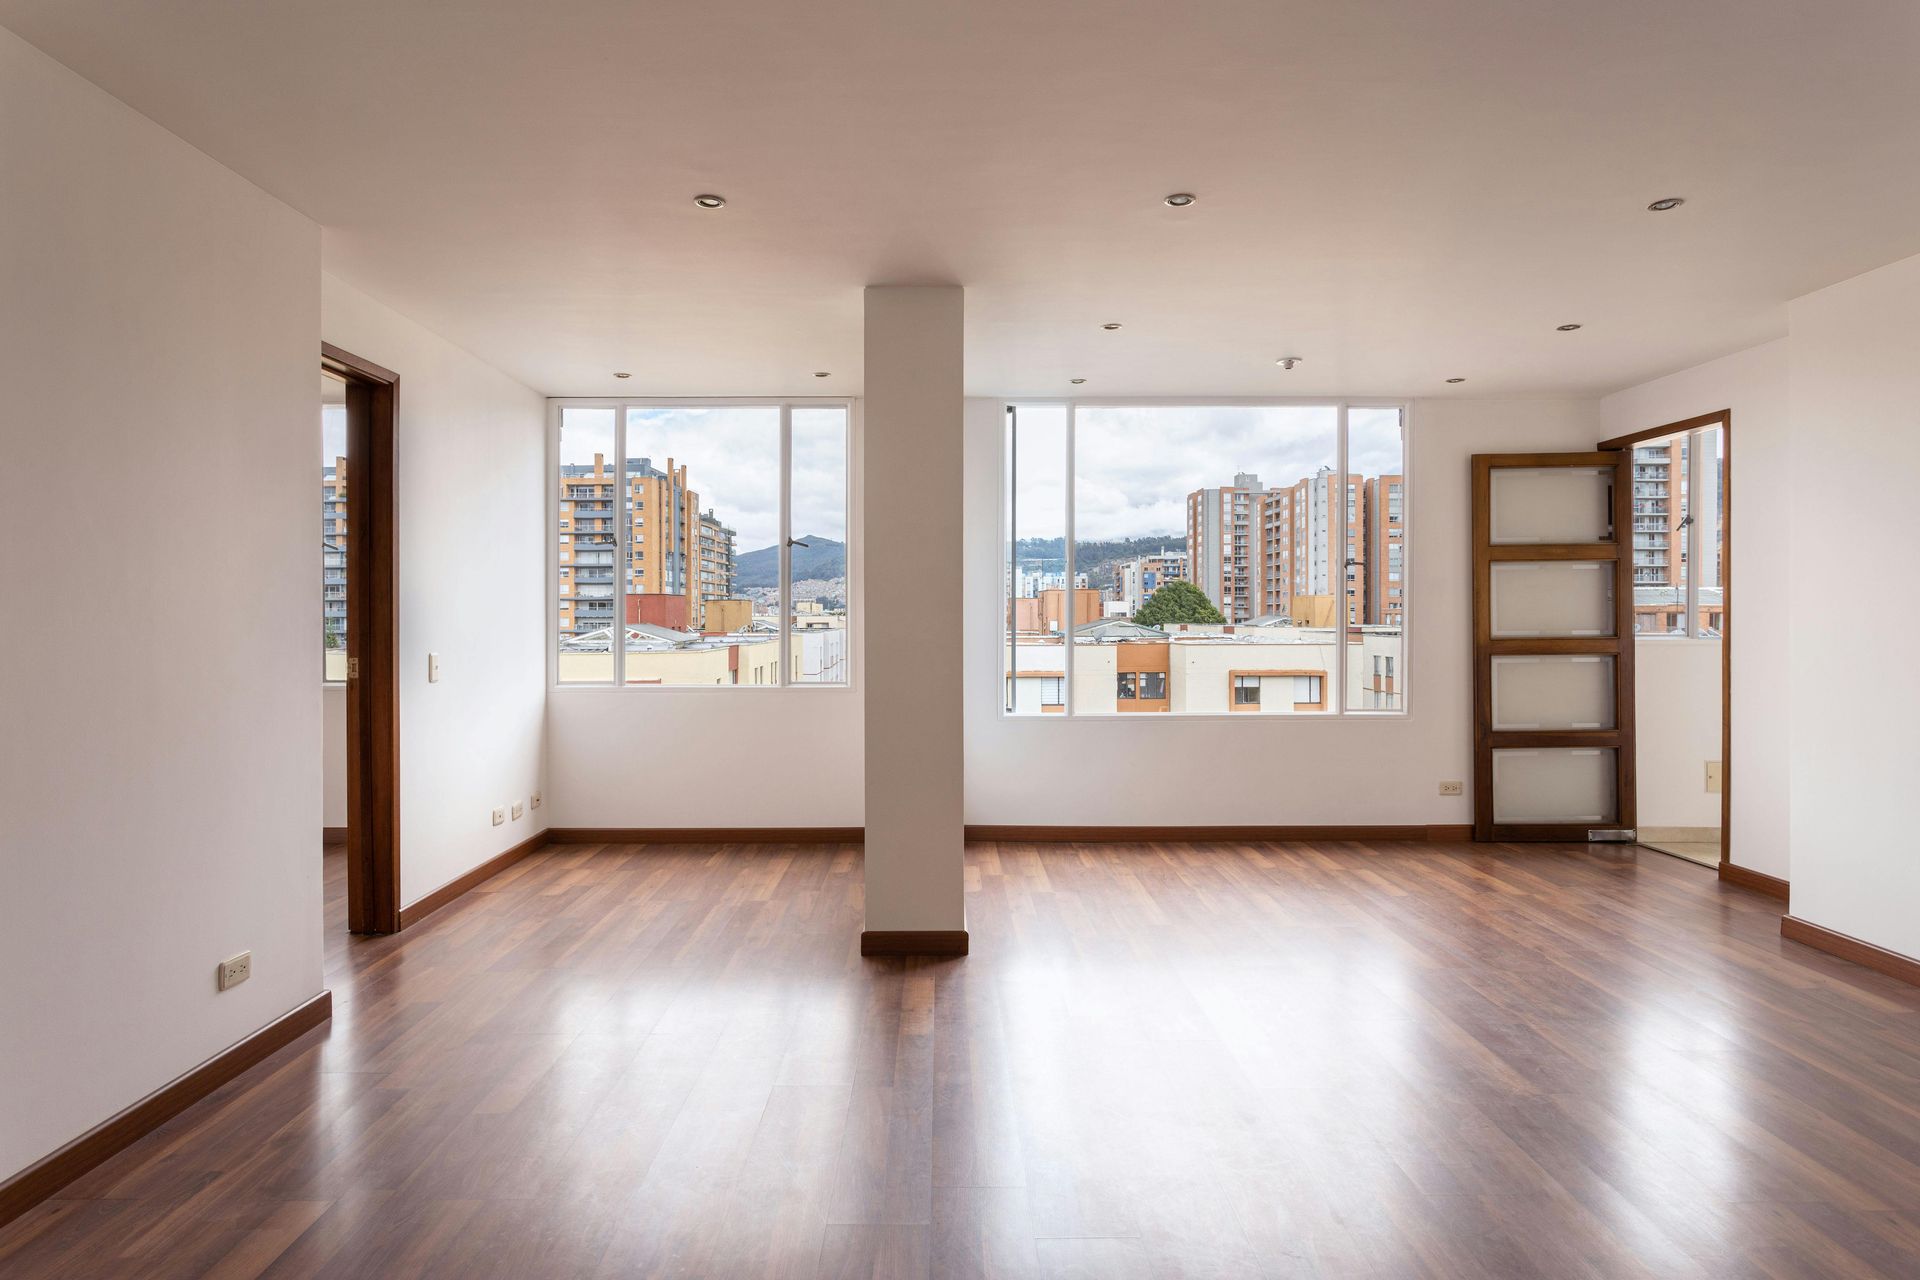
Paint changes how a room looks.
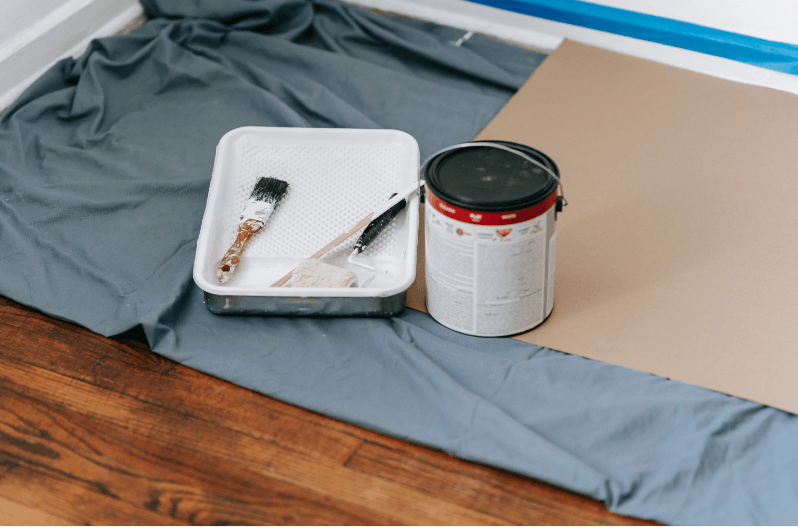
You decide, pick out the color, get the supplies needed, and are ready to start painting the bedroom. You tell yourself you are a great painter and decide to do it without putting down protection on your hardwood floors. Next thing you know, you are looking at paint on your beautiful hardwood floors.
Your mind starts racing, and you think that your floors are ruined. Although you only have paint speckles, you know those tiny paint drops; you will not see them unless you get down to the floor. But large paint spots on hardwood floors are definitely noticeable.
Quick Clean-Ups
If you notice the paint on your hardwood floors immediately, grab a damp cloth and wipe it up, making sure not to drag the paint further along your floor. Then grab another clean cloth and wipe up any excess residue and dampness.
If the paint has dried and you have not been successful at wiping it up with a cloth, try these steps:
Mix some dish soap with warm water in a bucket
Use a cloth to wet the entire area of the paint on the hardwood floor with soapy water. Make sure not to saturate the floor; you don't want to ruin your flooring.
Leave the water on the paint for a few minutes to allow the paint to soften and loosen up.
Take the wet cloth and scrub over the paint until it comes off.
Stubborn Paint
The real problem then becomes how you remove paint from hardwood floors sitting there for days, months, or even years. Try this idea, just be careful with the putty knife on your floors:
Carefully scrape off as much of the paint as you can with a putty knife.
Mix dish soap with warm water in a bucket.
Use a rag to cover the paint and let it sit for 5 minutes.
Use the rag, or grab an old toothbrush, to scrub off the paint.
Wipe the area with a clean, water-dampened rag.
Consult a Professional
If you have tried these methods and the paint does not seem to be coming up, it is time to consult with a professional. At Floors for Less, we will be happy to offer you suggestions and the easiest solutions for removing paint from your hardwood floors. Contact us today for more information.
Discover the key signs that indicate it’s time to replace your flooring instead of repairing it in Madison, WI. Expert guidance to make the right decision.
Learn how to choose durable, cost-effective flooring for rental properties in WI. Expert advice on vinyl, laminate, carpet, & tile from Floors for Less.
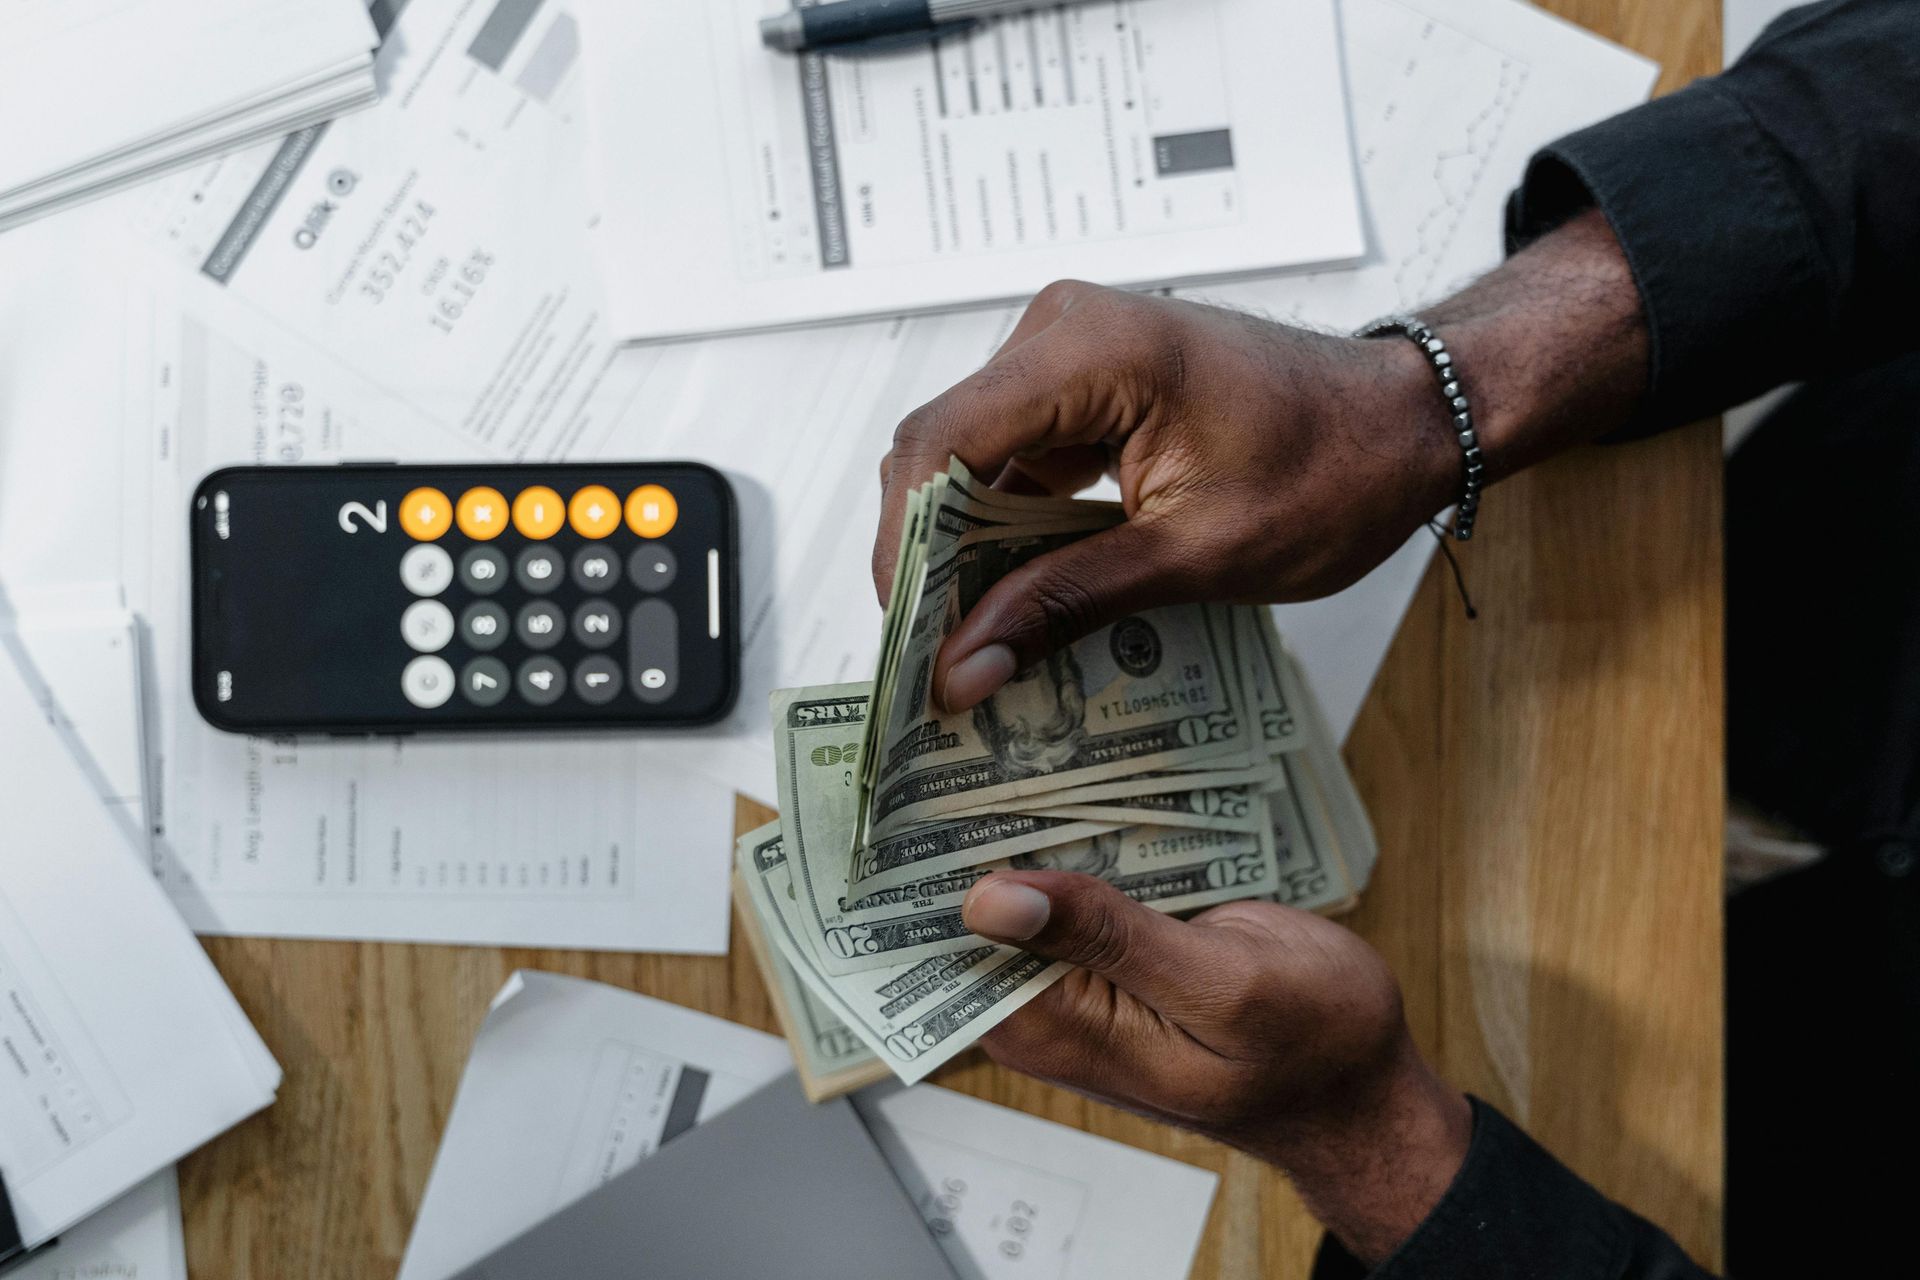
Discover budget-friendly flooring options for Madison homes. Compare vinyl, laminate, carpet, and tile to update your space without overspending.
